BOOKMARK


What it looks like after each step
MATERIALS
- Cardstock or paper. If you use paper you will want to wrap it around a piece of cardboard that is cut to size. This bookmark is 2"x8"
- glue of some kind
- scissors and a punch or awl
- 1/16" to 1/8" ribbon or cord in pink, white or gold
TO MAKE
- click on the image below that you want and save as bitmap to a folder. You may take them all by just repeating step 1
- If you are using the Do-It-Yourself (plain) you may use your own pictures or GET OURS and move the ones you want to the same foler as bitmaps. The PLAIN lets you use the colors you want for the left-side and border
- From the first bitmap, make and rename as many Save as files as you have pictures being sure to give each its own name
- Call up each file then Edit/Paste from the picture you want to put on it,
- Size each image so that it fits between the left and right gold lines
- Place the image so that the top covers the little white line at the top
- Lock the image in place
- If you are satisfied Save and Close
- Save, print (OPTION: make color coies) and cout out
- fold in half the long way, glue or past either to itself or over the piece of cardboard and let dry
- cot an 8" piece of the ribbon or cord
- On the back, punch or awl through at the top circle and thread the ribbon or cord through and tie OR simply glue the ribbon in place and glue a pice of paper over it
- Fill out the person's name on the line that runs down the back
- OPTION: you can dope the paper with something that will give it durability and add hardness and let dry.
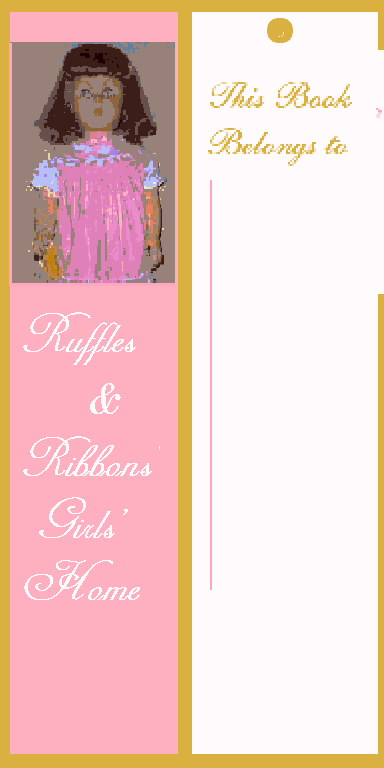
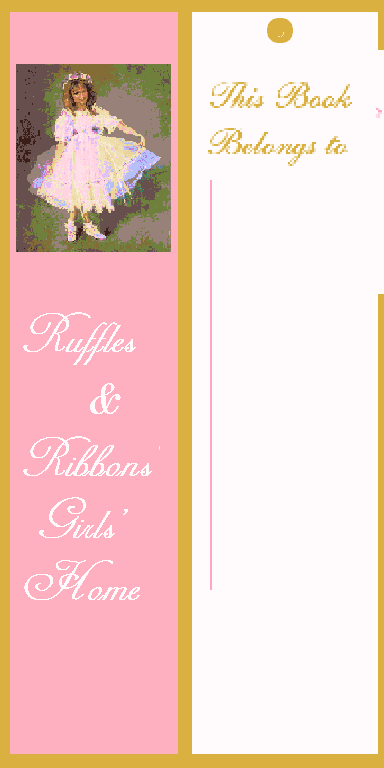
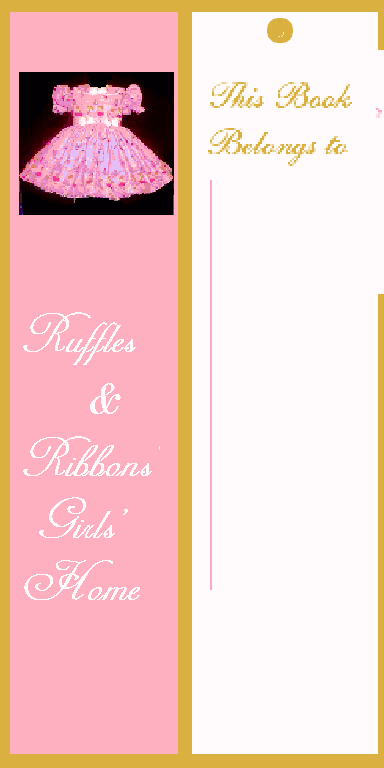
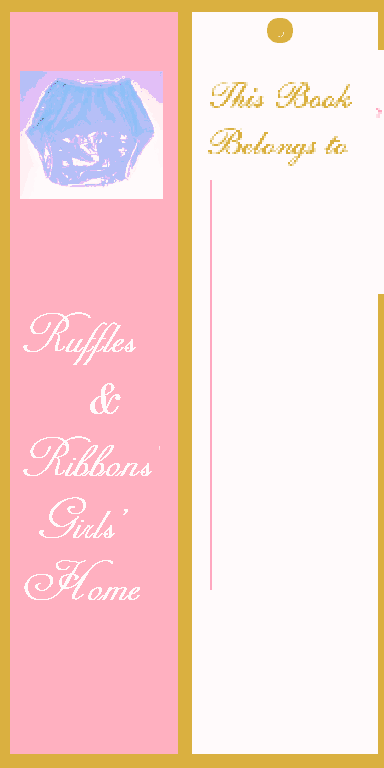
RUFFLES & RIBBONS GIRLS' HOME bookmarks

RUBBER RUFFLES GIRLS bookmarks